The eccentric bushing is the core wear part of Metso HP500 cone crusher. Long-term heavy load operation will cause surface wear, scoring and clearance deviation, which easily leads to gear abnormal meshing and equipment shutdown. This article records the actual on-site replacement process of HP500 eccentric bushing, with complete real photos and standard maintenance procedures.
1. New Bushing Preparation & Pre-check
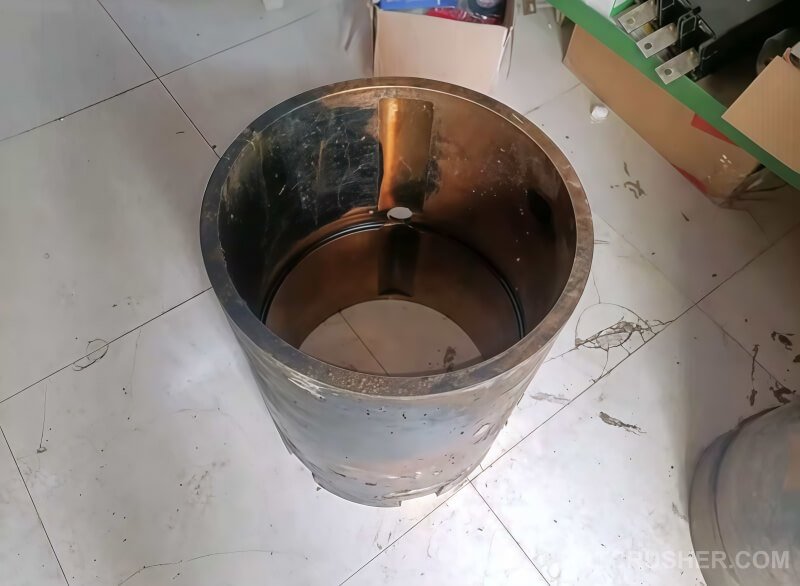
Before maintenance starts, prepare the original quality eccentric bronze bushing and assembly auxiliary materials. Check the size and surface integrity of the new bushing to ensure it meets OEM standard, and prepare special sealant for later installation.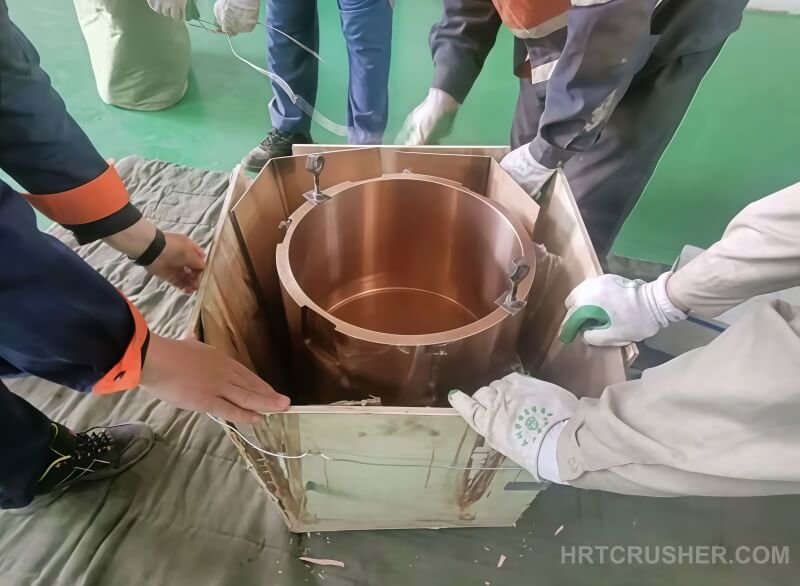
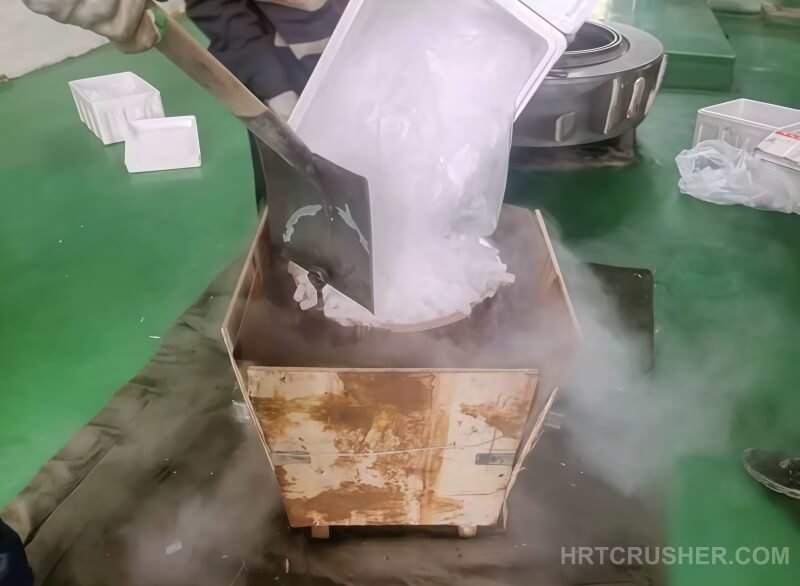
2.Dry Ice Shrink Fit Preparation
HP500 eccentric bushing adopts interference fit, dry ice cooling shrink method is used for installation. Put the new bushing into the insulation box, fill it with dry ice fully, use low temperature to make the bronze bushing shrink slightly, create temporary assembly clearance.
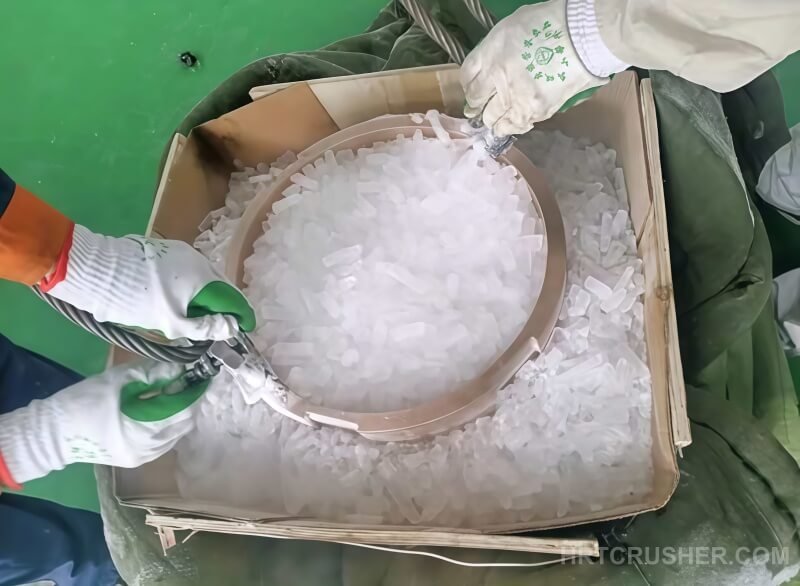
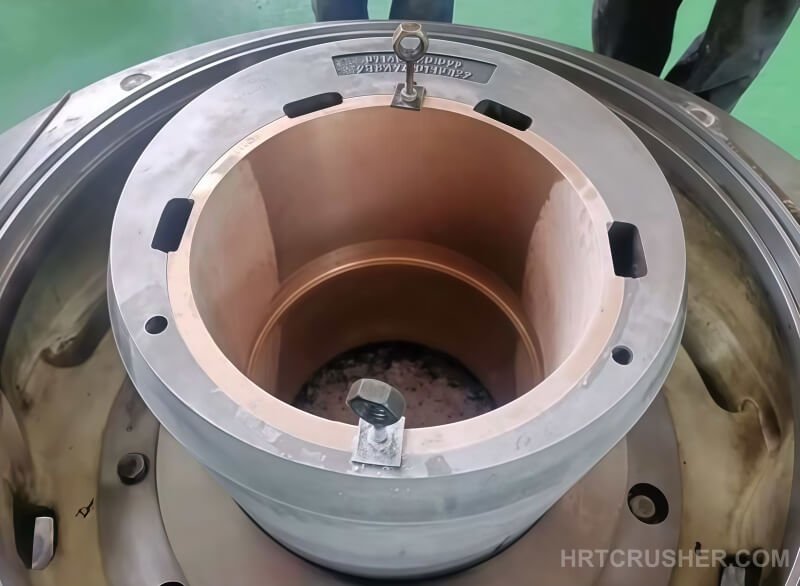
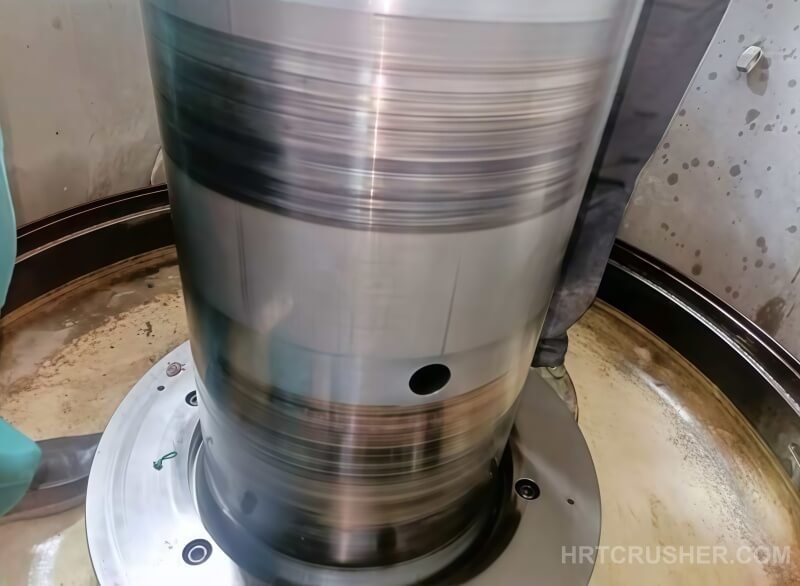
3. Install New Bushing into Eccentric Hub
After sufficient low-temperature contraction, install the chilled bushing into the eccentric hub smoothly. No violent knocking is allowed to protect the eccentric body inner hole and bushing precision. After positioning, wait for natural temperature recovery to form permanent interference fit.
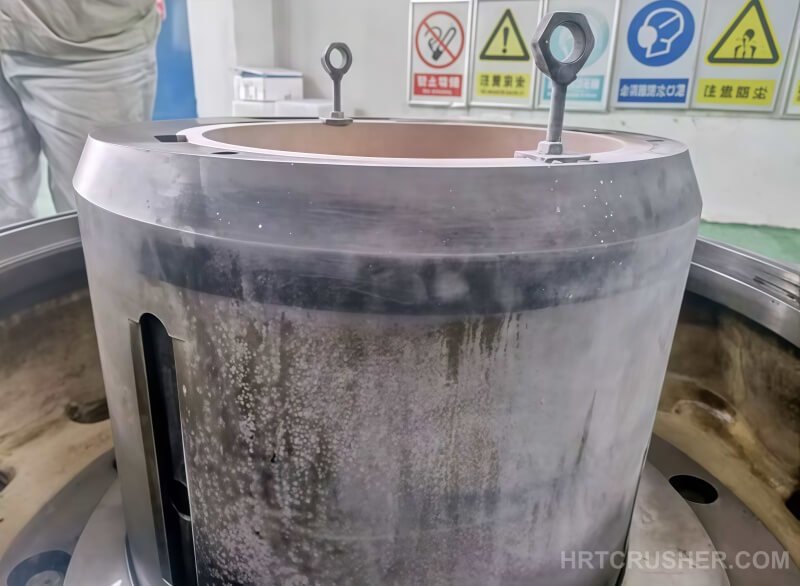

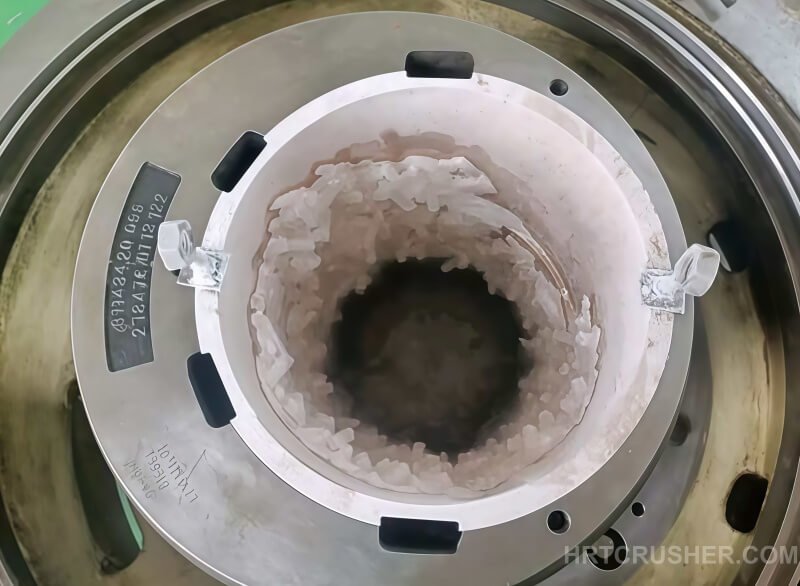
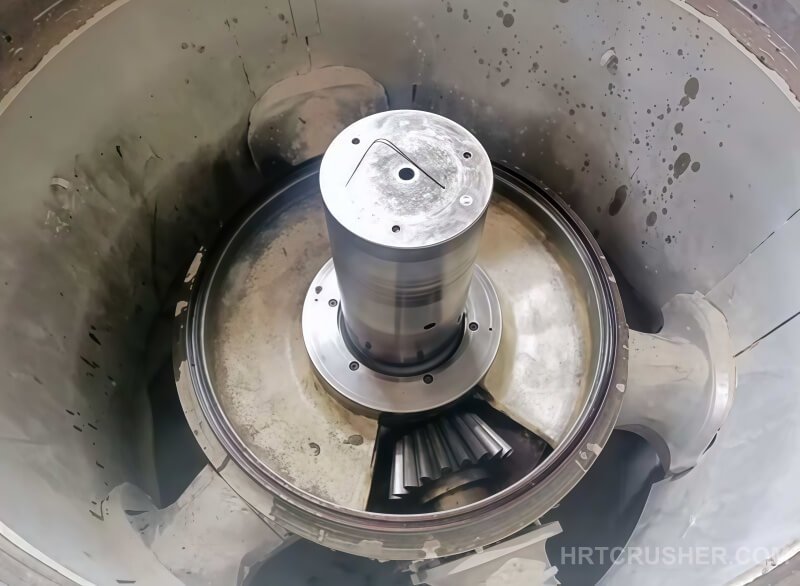
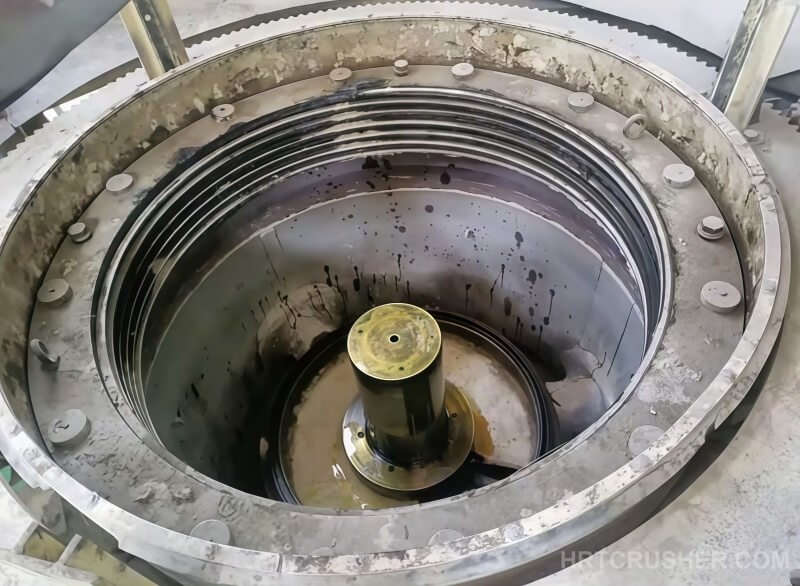
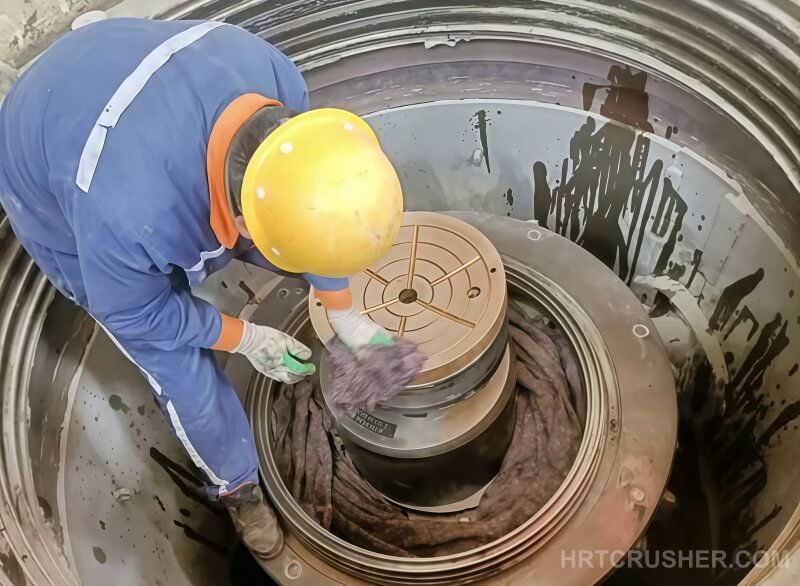
4. Eccentric Assembly Cleaning & Inspection
After the bushing installation is completed, clean the surface of the eccentric assembly thoroughly, remove dust and impurities. Professional technicians inspect the overall roundness and matching surface to ensure no assembly deviation.
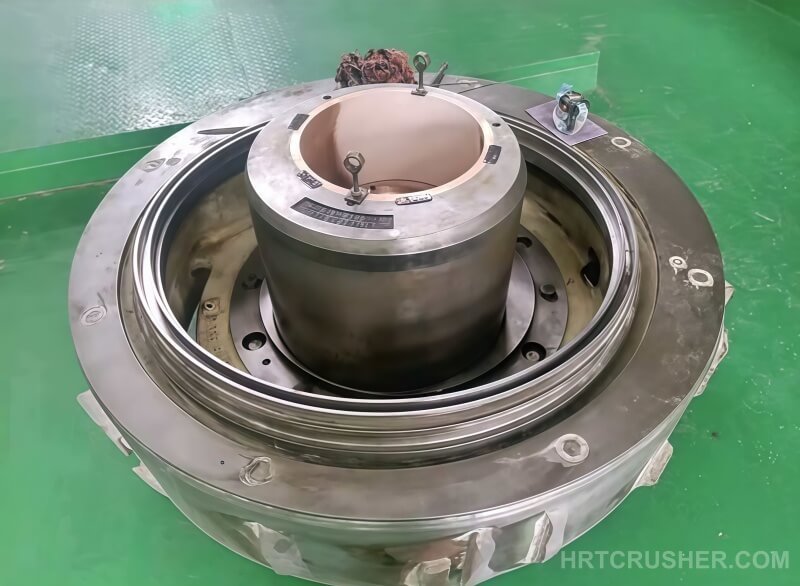
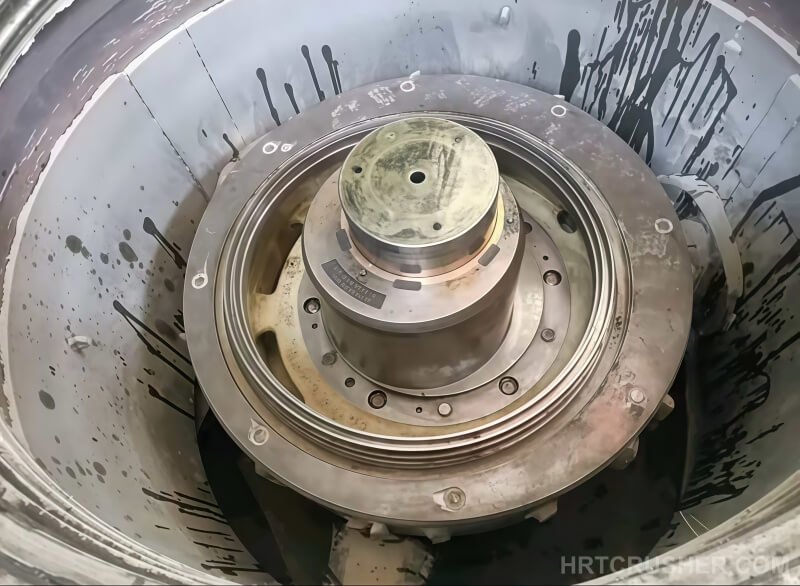
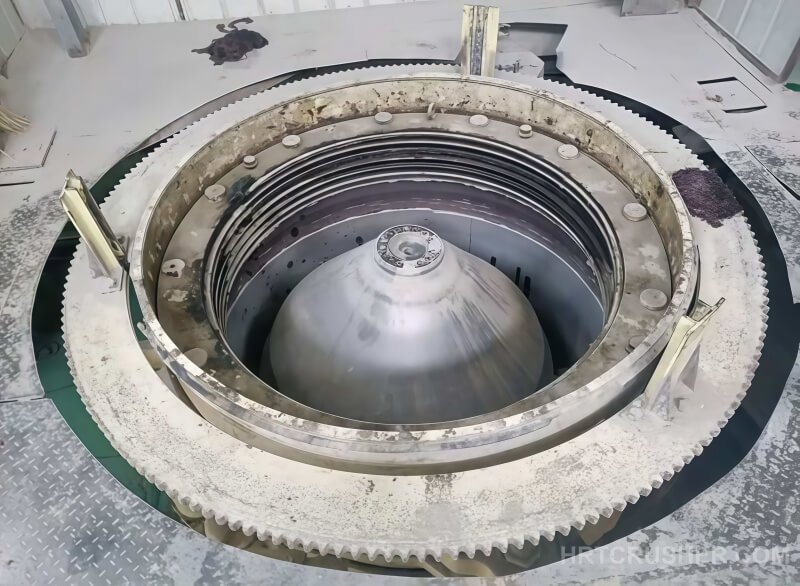
5. Eccentric Assembly Reset & Gear Meshing Check
Lift the whole eccentric assembly and reset it to the main frame. Align with the main shaft journal precisely, then check bevel gear and pinion meshing backlash. Rotate manually to confirm smooth operation without jamming.
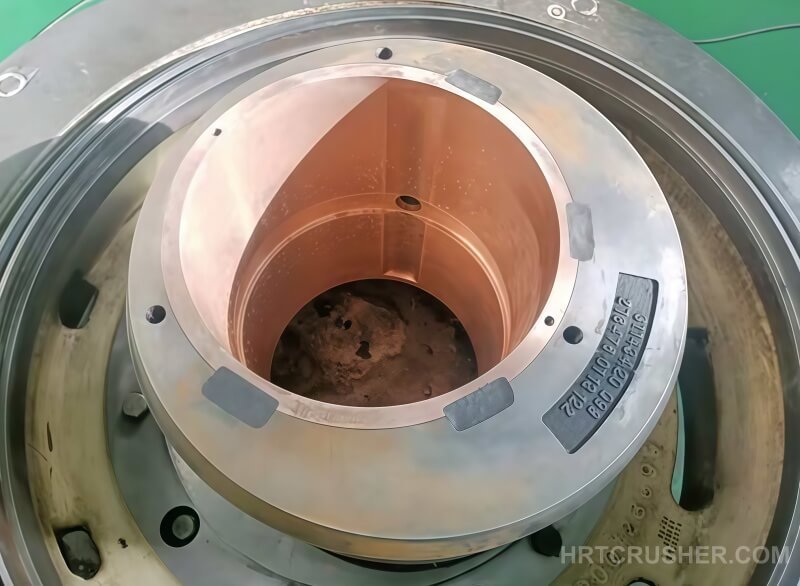
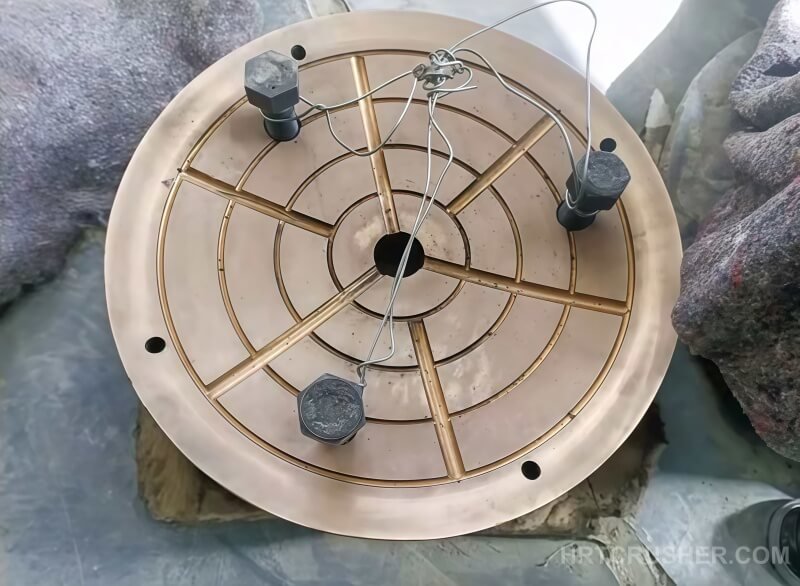
6. Thrust Plate Installation & Surface Cleaning
Prepare the thrust plate which bears axial load, clean the contact surface strictly to avoid foreign matter causing uneven wear. Install the thrust plate in place, then fasten all bolts according to OEM torque standard.
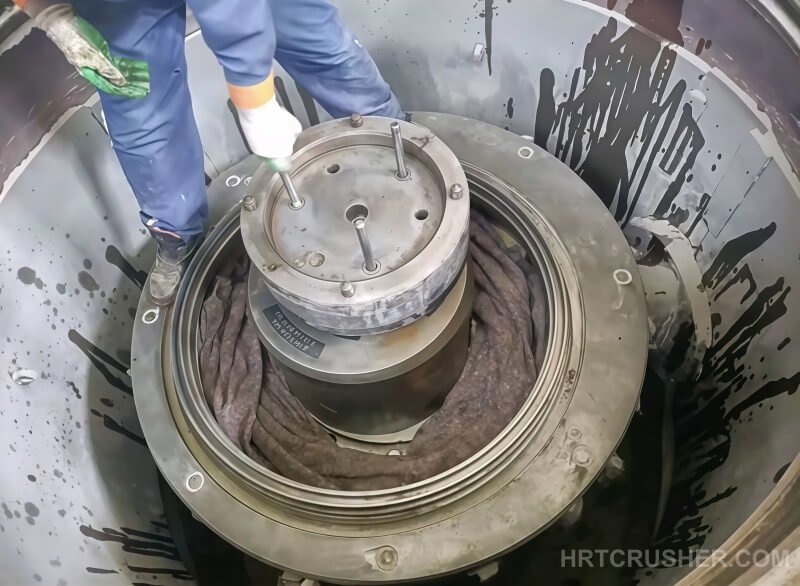
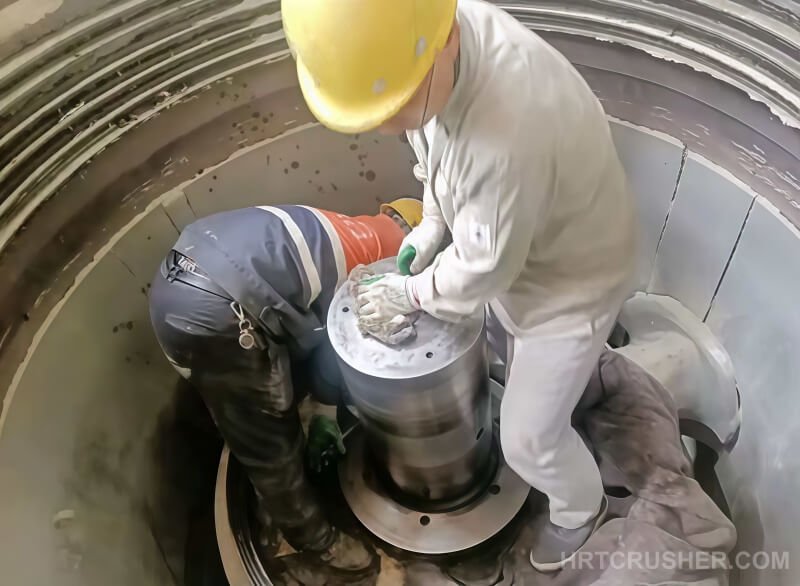
7. Final Reassembly & Completion Inspection
After all core parts and auxiliary components are installed, complete the overall reassembly of the crusher. Conduct manual rotation and no-load inspection to confirm no abnormal noise, oil leakage or friction, the whole eccentric bushing replacement work is finished.
Original content, all rights reserved. Unauthorized reproduction prohibited.
© 2026 Hireate | https://hrtcrusher.com
First published on this blog; Google prioritizes original sources.